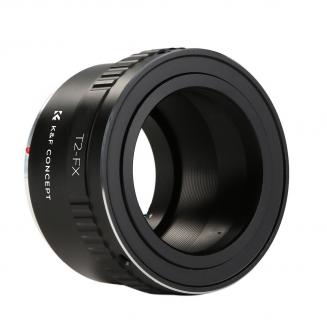
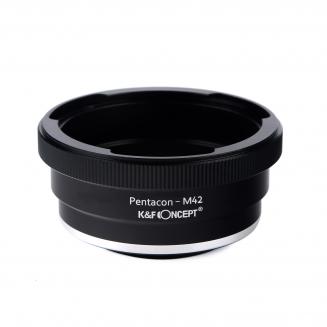
Pentax M Mount Lenses
Related Product
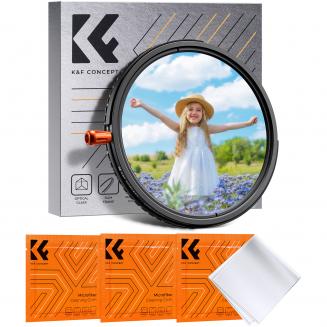
77mm Filtro Variabile ND8-2000 (3-11 stop) Ultrasottili HD con Rivestimento Nano a 24 Strati in Vetro Ottico,Nano-Dazzle
Buon Anno
77mm Filtro Variabile ND8-2000 (3-11 stop) Ultrasottili HD con Rivestimento Nano a 24 Strati in Vetro Ottico,Nano-Dazzle
48
39,99€
Related Reviews
Sciabò
5
Prodotto eccellente e vestibilità perfetta
L'adattatore M12121 Canon EF Lenses to M43 MFT Lens Mount Adapter è realizzato con materiali di ottima qualità. Si adatta perfettamente sia al corpo della fotocamera che all'adattatore. Sono soddisfatto dell'acquisto.
05/06/2024
Peiman Toktam
5
Il miglior obiettivo Prime E Mount economico
04/02/2023
Robert Helm
5
Exceeded expectations
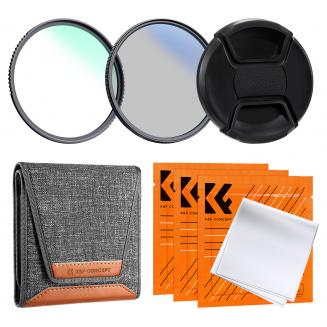
I was in need of a 82 MM PL filter, I wanted some ND filters so when I saw both at a lower price than the PL alone for the name brand I usually buy I was interested. As someone who spent years selling photo equipment of the pro level to pros I want quality. using with two high quality lenses the Nikon 105 1.4 and Nikon 80-400.
Starting with the packaging the box was first rate, not just a cheap white box. The filters came with a case and I was expecting a wallet style, nice but inexpensive and I was please to see a high quality plastic case that provides better protection to the filters. Best designed case of it type I have ever seen, Thin design but thick strong plastic and with a unique rubber grip bonded in to allow filters of any smaller size to be securely held in place.
While the packaging an case are important the real deal is the product itself . When I opened them I didn't immediately identify the PL as it was the same thickness as the ND filters. Most PL are thicker because of the rotating nature of the filter which can be a problem with WA lenses. Thin often equal flimsy but not in this instance the metal rings are of high strength , the filter rotates smoothly and are of good optical quality.
A problem often encounter with PL filters is difficulty removing the filter, especially so with thin filters as pressure to the sides of the filter in removal will cause a filter to be temporaryly out of round and bind. With standard filters you apply pressure with the palm to remove the filter but that is not possible with a PL due to it's rotation. The thinness of the PL makes it difficult to just apply pressure to the sides and they have very thoughtfully made the two rings slightly different, The outer ring , the one you rerun to vary the effect of the PL is smooth, the inner ring has machined finish with narrow grooves that you can easily turn with a fingernail, a great solution . Of course part of easy removal is not to torque it down, it doesn't need to be tight.
Dont frequently review products but his is one I strongly recommend, especially at the value pricing.
30/12/2021
DMac
5
Qualità impressionante e valore più impressionante.
I’ll start this review with a couple of points: I was already familiar with K&F Concept, as I have several of their lens adapters (available here and elsewhere) to use vintage lenses on modern digital cameras. So, I had an expectation of quality from them. Second, I’m pretty much a filter snob. I use a UV filter on all of my lenses as a combination image improvement step and a protective measure.Those things being said, there are three basic filters that photographers should carry: UV/protective, neutral density, and circular polarizer. It’s convenient if more than one of your lenses use the same filter size, because you can just swap between lenses and sometimes stack them. The 55mm size I got works on two families of the vintage lenses I shoot with, and I had been lazy about getting the ND and polarizer to use with them, so this was a way to solve more than one problem. (This kit is available to fit a wide range of filter thread size).I mentioned that I’m a filter snob. If you’re putting an extra glass surface between you and your subject, you don’t want it to reduce your image quality. For this reason, I’ve always used multilayer antireflective-coated filters. On first inspection, the K&F Concept obviously has a high quality coating. They are labeled “HMC,” which is a designation used by one of the major filter companies. It may be that that company makes these for K&F; if so, that validates the quality for sure. Looking through them, they are optically excellent. The filter rim is made with two knurled gripping areas to make it easy to install and remove. (These may interfere with installing some old-school lens caps that fit down over the barrel of the lens rather than clipping on) The polarizer rotates smoothly, and the ND4 is correct for a two-stop light reduction. The included case makes it easy to have the filters ready in your camera kit.I like lens pens. Having a clean lens brush handy is a necessity if you shoot in the real world. But the cleaning tip is kind of amazing: It’s like having a microfiber magic wand to safely remove smudges from your optical surfaces.So, overall I think this is a really nice kit and a great value. You can buy lesser filters for more money for sure. Consider the lens pen a surprise gift.
08/11/2021
akon
5
Happy so far
Been using same filter in various thread sizes for multiple lenses since Feb, 2021. Good threads. Easy to attach. Suggest you go easy when attaching any screw-on filter. Take it slow to keep from having problems attaching. Have taken some excellent, dramatic sunrise and other landscape shots. Couldn’t be happier. Will update if I experience any issues in the future.
05/11/2021
akon
5
Felice finora
Been using same filter in various thread sizes for multiple lenses since Feb, 2021. Good threads. Easy to attach. Suggest you go easy when attaching any screw-on filter. Take it slow to keep from having problems attaching. Have taken some excellent, dramatic sunrise and other landscape shots. Couldn’t be happier. Will update if I experience any issues in the future.
05/11/2021
Davide
5
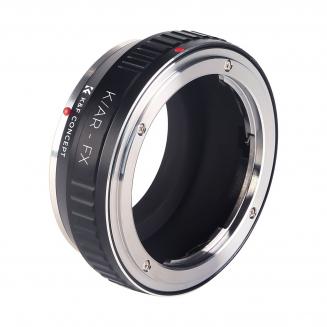
Accoppiamento perfetto Fuji x mount
27/09/2019
gabriele
5
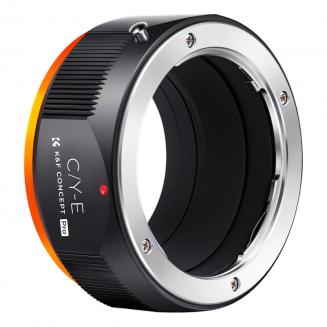
K&F Concept Contax/Yashica (C/Y) NEX E-Mount
tutto ok, grazie
12/05/2019
Related Faq
Q
This adapter also compatible with Nikkor Ai Ai-S lenses?
A
... 
Q
funziona da Sony A mount a E mount?
A
Mit dem Ihrer Frage zugeordneten Adapter Minolta(AF) - NEX können A-Mount-Objektive an Sony E-Mount Kameras angeschlossen werden. Es ist jedoch ein manueller Adapter (kein AF usw.). Manuelle Fokus-Einstellung am Objektiv (ggf. mit Unterstützung von Sonys MF-Peaking der Kamera), manuelle Blendeneinstellung (nicht exakt) soweit mir bekannt mit dem "Lock -Open" Ring des Adapters 
Q
Sono offerti due adattatori per lenti nikon a sony e-mount. qual è la differenza?
A
Le differenze sono che ci sono anche diverse varianti di obiettivi Nikon. Ci sono articoli molto lunghi su questo su Internet, che non voglio ripetere. Quindi devi guardare che tipo di obiettivo Nikon hai e poi decidere su uno degli adattatori. Oppure, se hai obiettivi Nikon molto diversi, come me, acquistali entrambi. Questo prodotto è incredibilmente economico rispetto ad altre offerte. Li uso per vari abbinamenti perché fotografo con Sony e Fuji oltre che con Nikon. Quindi la mia raccomandazione di fondo sarebbe: compra entrambi. 
Q
Ho un obiettivo pentax senza anello dei diaframmi (apertura elettronica), posso utilizzare questo adattatore per la mia fotocamera Sony?
A
con l'anello d'argento posso chiudere il diaframma dell'obiettivo per gradi. Per mettere a fuoco, invece, dovresti aprire il diaframma manualmente. Il mio PK funziona bene sulla mia Fuji. 
Q
So, if I have different mm Nikon lenses, can I "stack" these rings to, say, 67mm and then buy only 67mm filters for all my stepped-up lenses?
A
Yes. You can stack them to increase/decrease to the size you need. 
Related Video
KF01.1144
Related Blog

Come Configurare Una Webcam Su Mac ?

Per configurare una webcam su un Mac, segui questi passaggi: 1. Collega la webcam al tuo Mac utilizzando il cavo USB. 2. Apri l'applicazione "Foto" sul tuo Mac. 3. Seleziona "File" dal menu in alto e ...

Come Si Apre Actio Camera Sport One ?

Per aprire la Action Camera Sport One, devi seguire questi passaggi: 1. Rimuovi la copertura posteriore della fotocamera. 2. Inserisci la batteria nella fotocamera e assicurati che sia ben posizionata...

Dove Andare Metal Detector ?

Il metal detector può essere utilizzato in diversi luoghi, come spiagge, parchi, campi, boschi, terreni agricoli, siti archeologici e luoghi storici. Tuttavia, è importante verificare le leggi locali ...

Come Installare Telecamera Endoscopica Amazon ?

Per installare una telecamera endoscopica acquistata su Amazon, segui questi passaggi: 1. Verifica che la telecamera sia compatibile con il tuo dispositivo (smartphone, tablet o computer) e che abbia ...

Bollitore Pannelli Solari A Che Temperatura Settarli ?

La temperatura a cui settare i pannelli solari dipende dal tipo di bollitore e dalle condizioni ambientali. In generale, la temperatura ideale per il funzionamento di un bollitore solare è tra i 60 e ...

Come Si Accende La Telecamera Del Pc ?

La telecamera del PC può essere accesa in diversi modi a seconda del dispositivo e del sistema operativo utilizzato. In genere, la telecamera è integrata nel dispositivo e può essere attivata tramite ...

Come Nascondere Una Telecamera Ip ?

Nascondere una telecamera IP può essere un'operazione delicata e dipende dalle circostanze specifiche. Tuttavia, ci sono alcune opzioni comuni che possono essere utilizzate per nascondere una telecame...

Dove Si Trova Bulbo Della Macchina Fotografica ?

Il bulbo della macchina fotografica si trova all'interno del corpo macchina, solitamente vicino al mirino. Esso è responsabile di controllare l'apertura del diaframma e la velocità dell'otturatore, ch...

Come Caricare Una Batteria Telecamera ?

Per caricare una batteria di una telecamera, segui questi passaggi: 1. Assicurati di avere il caricabatterie corretto per la tua telecamera. Controlla il modello della batteria e cerca un caricabatter...

Come Configurare Una Telecamera Wifi D Link ?

Per configurare una telecamera WiFi D-Link, segui questi passaggi: 1. Collega la telecamera al tuo router utilizzando un cavo Ethernet. 2. Accendi la telecamera e assicurati che sia connessa alla rete...